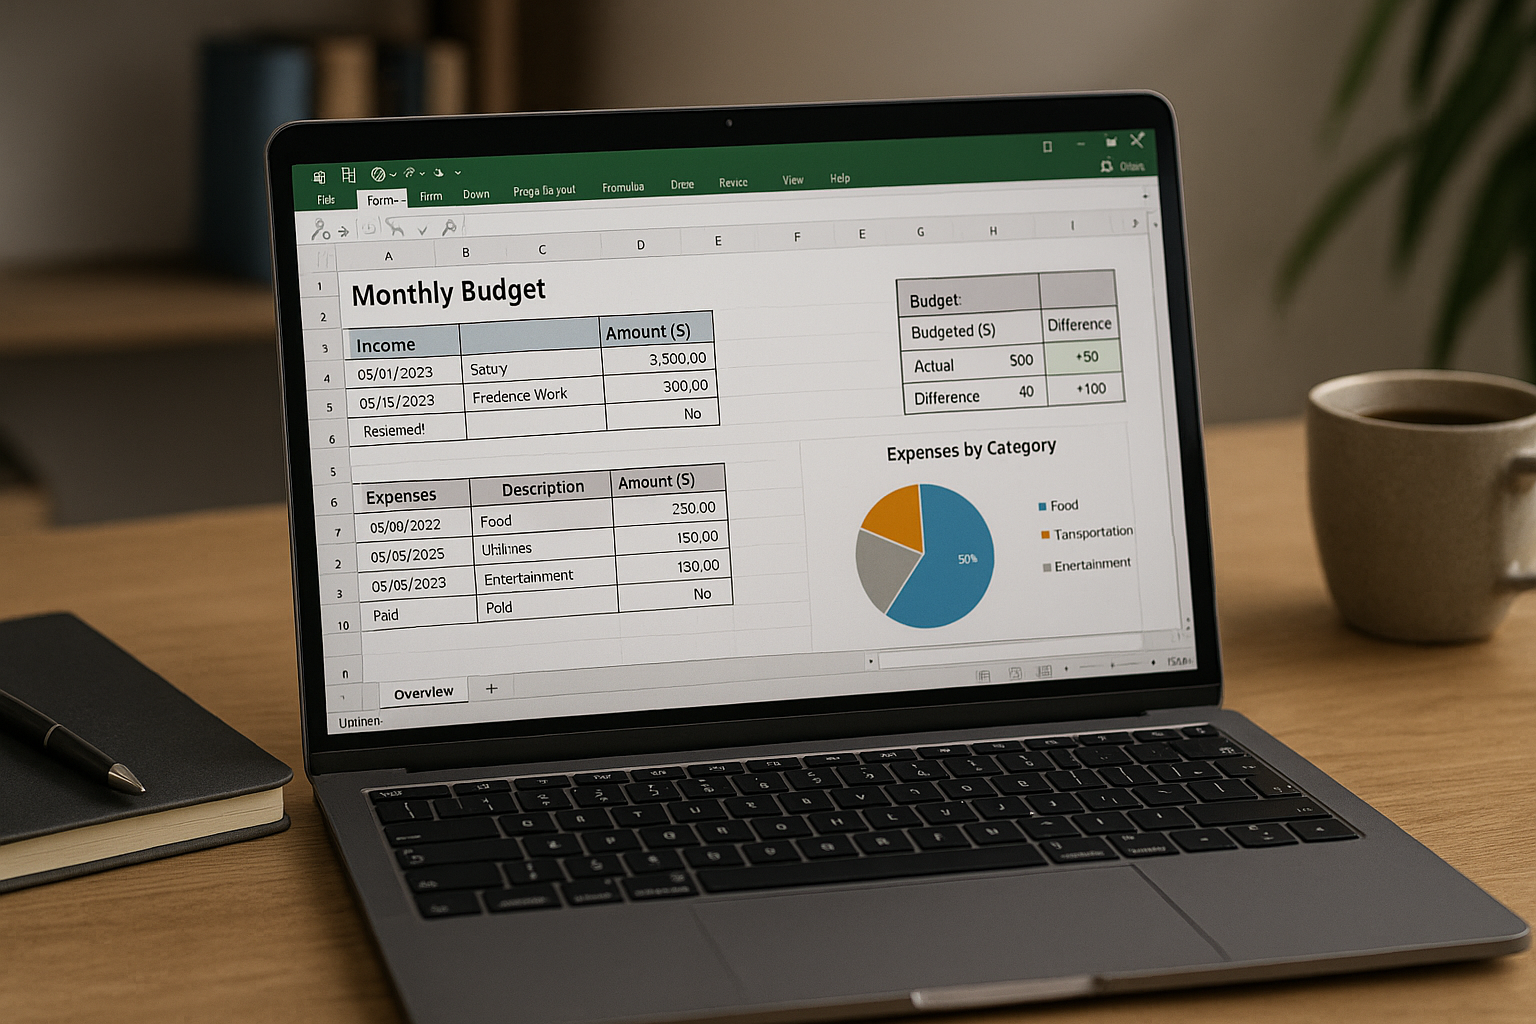
If you’ve ever felt like your money just disappears without explanation, you’re not alone. Managing personal finances can seem overwhelming — but with the right tools, it becomes a lot easier. One of the most powerful and accessible tools available today is Microsoft Excel.
Even if you’re a beginner, Excel can help you take control of your income, expenses, savings, and financial goals. In this article, you’ll learn step-by-step how to use Excel to organize your finances in a simple, efficient, and visual way.
Why Use Excel for Financial Management?
Excel is not just for accountants or businesses. It’s a flexible, customizable, and free (with alternatives like Google Sheets) tool that gives you complete control over how you manage your finances.
Here’s why it works so well:
- You can track every cent that comes in and goes out.
- You can visualize your spending through charts and graphs.
- You can set monthly budgets and check your progress.
- You avoid unnecessary finance apps that charge for features Excel already has.
Let’s go through the process of creating your own personal financial control spreadsheet.
Step 1: Set Up Your Spreadsheet
Open Excel or Google Sheets and create a new file called “My Budget” or “Monthly Finances.”
Create Tabs for Organization
- Overview: General summary of your finances.
- Income: All your sources of income.
- Expenses: Fixed and variable costs.
- Goals: Savings targets or debt repayments.
You can start with one simple tab if you prefer, and expand as needed.
Step 2: Input Your Income
In the Income tab, make a table with the following columns:
- Date
- Source of Income (e.g., salary, freelancing, side hustle)
- Amount
- Received? (Yes/No dropdown)
Example:
| Date | Source | Amount (R$) | Received? |
|---|---|---|---|
| 2025-05-01 | Salary | 3,000.00 | Yes |
| 2025-05-15 | Freelance Job | 500.00 | No |
Use Excel formulas to calculate total income:=SUM(C2:C100) — Adjust the range based on your rows.
Step 3: Record Your Expenses
In the Expenses tab, create similar columns:
- Date
- Category (e.g., food, rent, transport)
- Description (e.g., supermarket, Uber, electricity)
- Amount
- Paid? (Yes/No)
Example:
| Date | Category | Description | Amount (R$) | Paid? |
|---|---|---|---|---|
| 2025-05-02 | Food | Supermarket | 250.00 | Yes |
| 2025-05-05 | Bills | Electricity | 120.00 | No |
Use a total expenses formula:=SUM(D2:D100)
Step 4: Categorize and Visualize
Add Drop-Down Lists for Categories
To keep things clean and avoid typos, create drop-downs with predefined categories:
- Rent
- Food
- Utilities
- Transportation
- Entertainment
- Health
- Education
- Others
Use Excel’s Data Validation to set up drop-down menus.
Create a Pie Chart of Spending
Select your expenses by category and create a pie chart:
- Use a Pivot Table to group expenses by category.
- Insert a chart from the “Insert” tab.
- Now you can see where your money goes visually!
Step 5: Build a Monthly Budget
In a separate tab or the top of your Expenses sheet, create your Budget Plan:
| Category | Budgeted (R$) | Actual (R$) | Difference |
|---|---|---|---|
| Food | 800.00 | 750.00 | +50.00 |
| Transportation | 200.00 | 300.00 | -100.00 |
| Entertainment | 150.00 | 120.00 | +30.00 |
Formula for Difference:=B2-C2
Use conditional formatting to highlight overspending in red and savings in green.
Step 6: Set Financial Goals
Use another tab to set and track your goals, such as:
- Building an emergency fund
- Saving for a trip
- Paying off a credit card
Create columns like:
- Goal Name
- Target Amount
- Amount Saved
- Progress (%)
Formula for progress:=C2/B2
Format the cell as a percentage.
You can also use a progress bar visual with conditional formatting to make it more motivational.
Step 7: Track and Review Weekly
Set a weekly routine to update your spreadsheet. It can take just 10–15 minutes every weekend and helps you:
- Keep an eye on your financial health
- Adjust habits before overspending
- Celebrate wins and course-correct losses
Step 8: Secure and Backup Your File
To avoid losing your progress:
- Save your file to the cloud (e.g., Google Drive or OneDrive)
- Keep backups on a flash drive or email
- Set a password if your data is sensitive
Extra Tips for Excel Beginners
- Use Excel templates as a starting point.
- Learn basic formulas like
SUM,IF,VLOOKUP, andAVERAGE. - Use color coding to keep things visual.
- If you prefer mobile use, Google Sheets works well on smartphones too.
Final Thought: Excel Empowers You to Take Control
You don’t need to be a finance expert or Excel pro to manage your money like one. With a simple spreadsheet, discipline, and a weekly habit, you can gain clarity, peace of mind, and financial progress.
Taking charge of your finances doesn’t require a complicated app or a professional — just a spreadsheet and the will to change.

